This is a more complicated type of puzzle to make, there are a lot of steps. There is a link at the bottom of this page that describes the tools that I use.
1. Find a pattern. You want an outline that is rectangular, perhaps twice the width as the height. Here are a few examples I’ve done. I’ve put a few pdf outlines for you at the bottom of this page. The Coelecanth and Sperm Whale are my latest and best outlines. (click on the five below to enlarge).


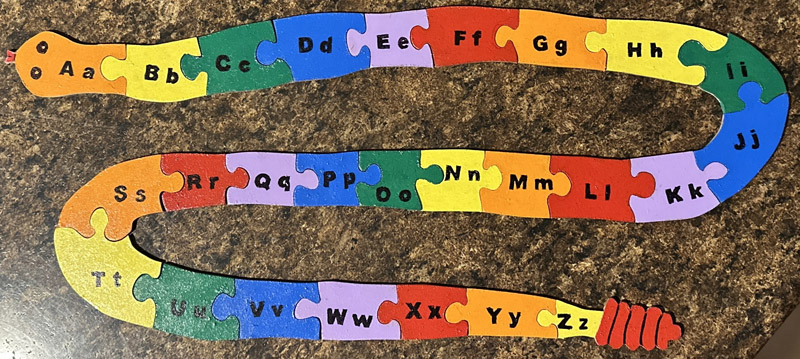

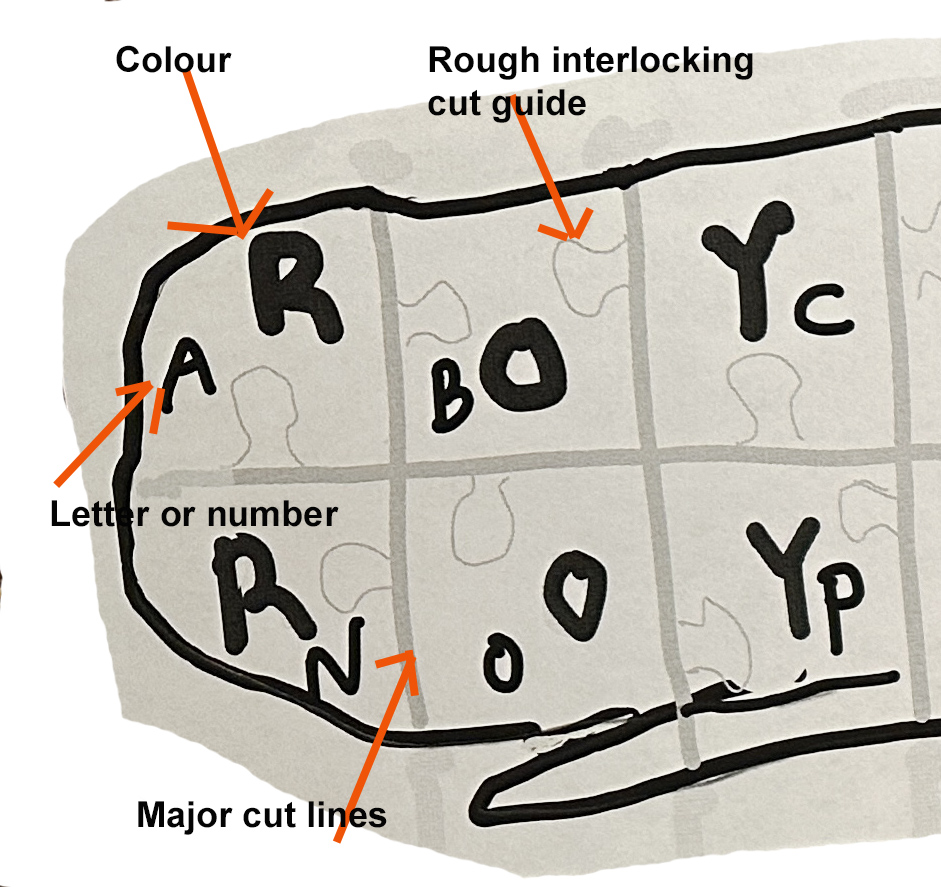
2. Prepare the outline by dividing it up into two rows of thirteen for the alphabet puzzle or two rows of ten for the 1-20 numeric puzzle. I call these the major cut lines. I also put the colours on as I like a spectrum/rainbow on these types of puzzles. I also mark on the letter or number. I put in rough cut marks so I know the direction to cut the fully-interlocking pieces.
3. Trace the outline onto tempered hardboard (or Baltic Birch plywood). I use carbon paper or graphite paper to transfer the outline only. I lightly pencil in the major cutlines and rough interlocking cutlines. Any that are still visible after cutting will need to be sanded off later after cutting.
4. Cut out the puzzle on the scrollsaw, being careful to create fully-interlocking pieces (see the page on Making Picture and Photo Puzzles for more information on interlocking pieces).
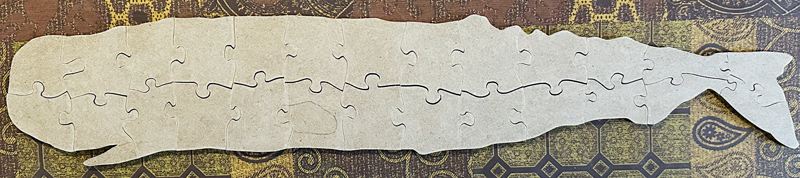
5. On the BACK side, put on the number or letter for each piece. I print off the letters or numbers using 30 point Arial Black font. See below for a Word doc with the numbers and letters that I use.
See steps 6 and following for instructions.
The entire backside of the Sperm Whale Alphabet puzzle underneath the template.
6. Paint the pieces. I use 3 coats of acrylic paint and prime the orange and yellow pieces with one coat of white paint first.

I paint all the pieces of the same colour at the same time. See the link below on the list of my tools for more information on the paint.
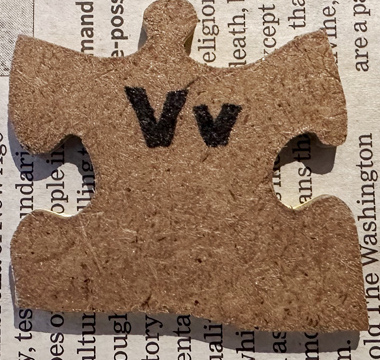
7. I use graphite or carbon paper to transfer the number or letter to the painted puzzle piece.
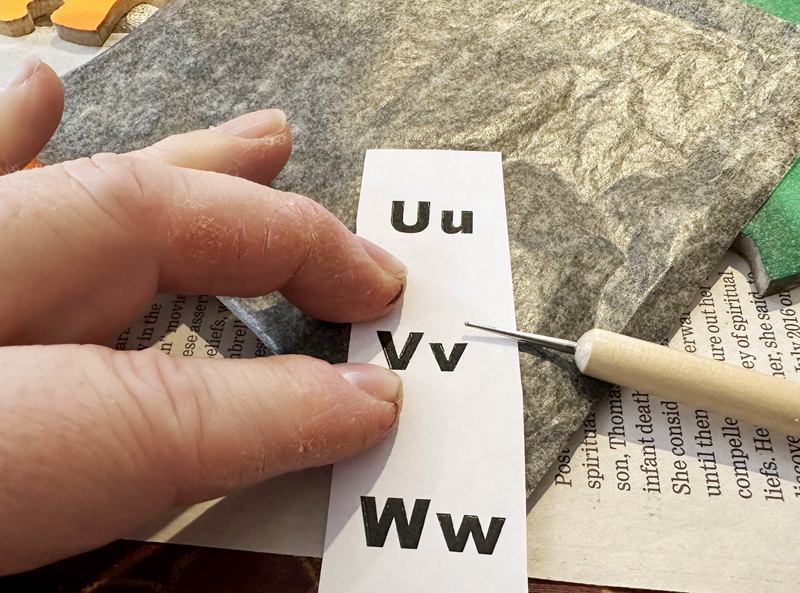
I print off the letters (or numbers) and cut them into vertical strips of 3-4 letters. I centre them carefully on the puzzle piece and trace the outline with an embossing tool. See below for a Word doc of the letters and numbers that I use.
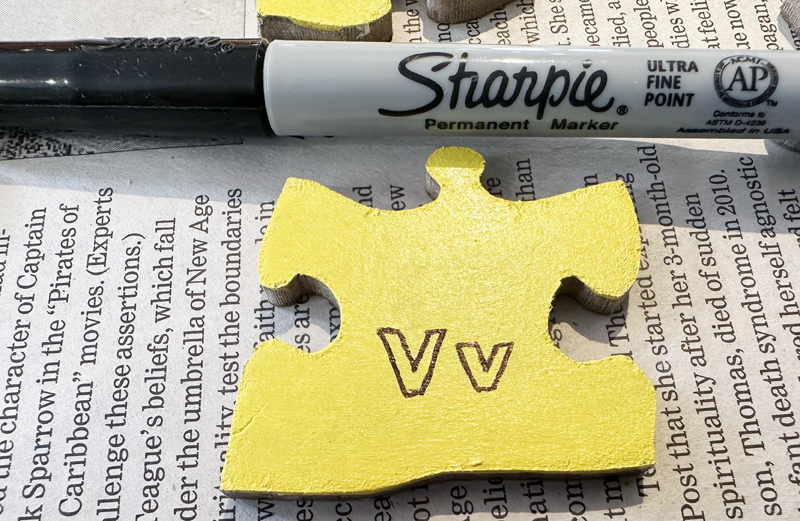
8. I colour in the outlined letter with Sharpie permanent black markers.
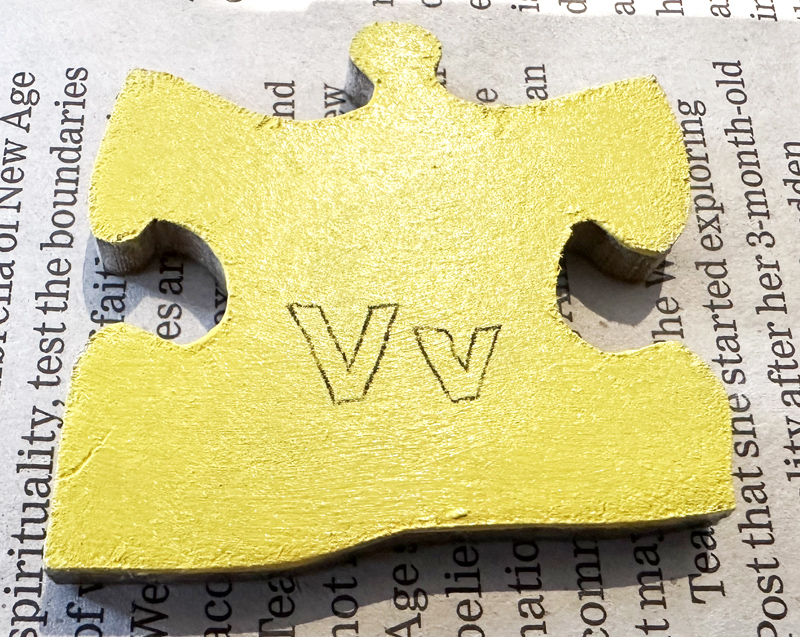
This is the outline from the graphite paper.
I outline with the Ultra Fine Sharpie.
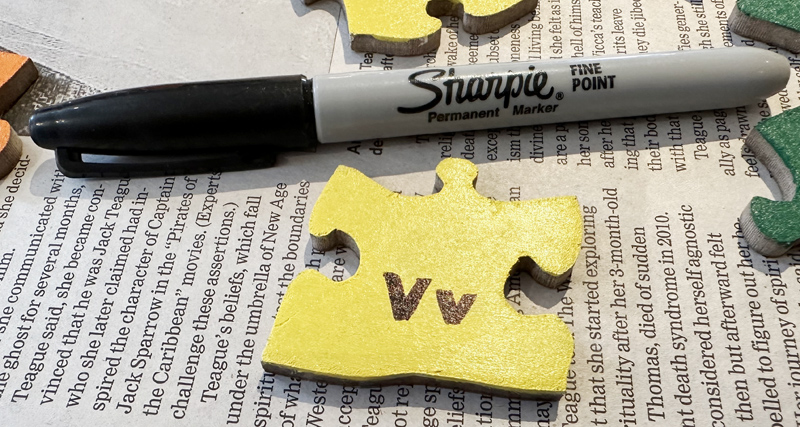
I fill in the outline with a fine Sharpie.
9. I put a final coat of water-based Urethane on the front painted side and we’re done!
I prefer the Glossy but you may want Satin or Semi-glossy. I really like the water-based version as it is easy to clean up and (possibly) less toxic.
10. The result is a great puzzle that can help your puzzler learn the alphabet or the numbers 1-20!


Here are a few of my templates and the lettering I use.