Base for the Puzzlies
You have a few choices for puzzles. I’ve found that for the standard picture puzzles, tempered hardboard (not standard hardboard!) works well. Another option if you want to be fancy or spend a bit more money is “Baltic Birch” plywood (not standard fir plywood!). I’ve also used recycled sign material that had painted stuff on the back but the one side was clean.
Tempered Hardboard
This is a very uniform product that cuts well and paints up well. You can choose between 1/8″ (3 mm) and 1/4″ (6 mm). The thicker size is good for younger puzzlers. Make sure that it is tempered, not standard as it is much tougher. Even better is if you can get your hands on old clipboard material which is a kind of ultra-tempered hardboard.
Baltic Birch Plywood
Baltic Birch plywood is another good choice. It is more expensive than standard Fir plywood but much more uniform and less splintery. You can sometime get sheets at the big box stores and speciality places like A&M Wood Specialty in Cambridge, Ontario, Canada. It is especially nice for inlaid puzzles like this one of Canada (note: it was made many years before Nunavut was created from the NW Territories.

Cutting
Although it is possible to cut the puzzles with hand tools such as a coping saw, a good scroll saw is a delight to use. I made do with a cheap one (Delta) for 30+ years but decided to invest in a decent one recently. I’ve been overjoyed with my DeWalt DW788. It has a deep depth (20″) and very solid. You can find better scroll saws (e.g. Excaliber) for a lot more money.
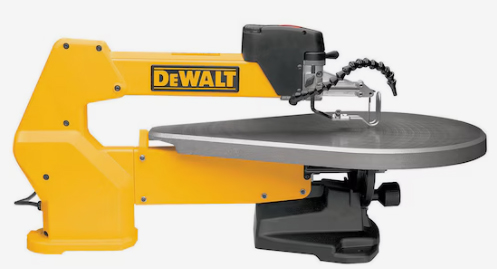
DeWalt 788. I got mine on sale with birthday and Christmas gift money. Currently (Jan. 2025) is roughly $700 $CDN
The blades you use are up to you, the wider the blade, the wider the “kerf” or gap between the pieces. For large, bulky and/or thick puzzles, you will want a wider kerf. For puzzles with smaller pieces, you will want smaller kerfs. Try starting with a 5 or 7 grade. If they have a few reverse teeth, the cuts will be smoother.
Spiral blades may seem like a cool idea since you won’t have to twist the piece around to make the fully interlocking joints but I find that they make a kerf that is way too wide, resulting in a sloppy fit.
Sanding
I just roll a small strip of sandpaper, usually 220 grit, as the scroll saw blade does a fairly smooth job. I lightly sand the edges of both sides.
Gluing
I started by using spray-on adhesive but found that it didn’t stick well in the longer term so now I use white glue, well spread on, and use a roller on the picture to spread the glue out.
I use a special technique (that I believe I invented!). I use my food vacuum sealer to act as a poor person’s vacuum press.
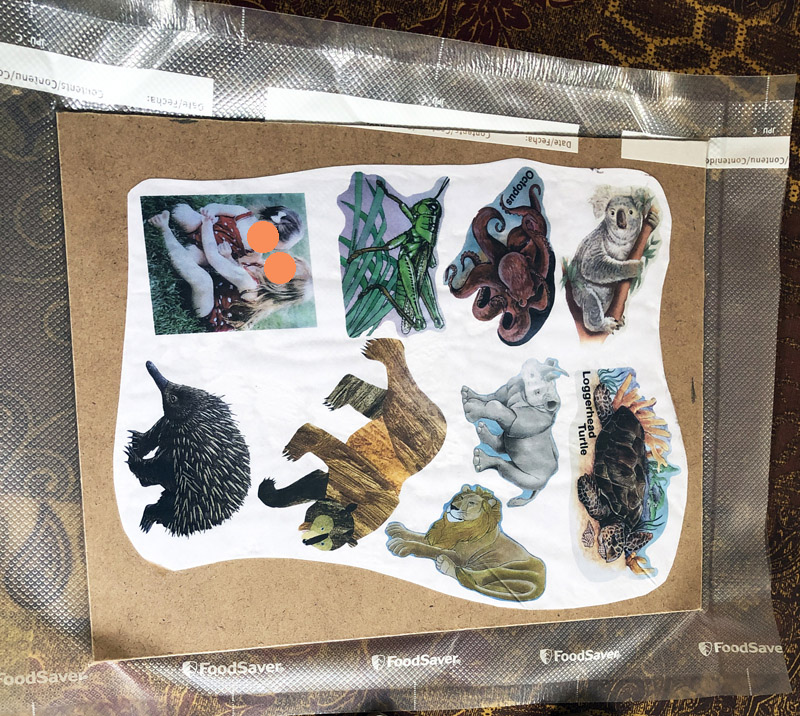
Here are some “legends” (small copies to help the puzzlers see the big picture). They are in a food saver vacuum bag where I leave them for about 1 hour. It seems to help the glue to spread.
These legends were printed on my colour printer from photos I took with my phone. This is helpful where there is no actual legend available.
Tracing Tools


I use embossing tools and graphite paper which are available at Michaels or Amazon.

Painting and Finishing
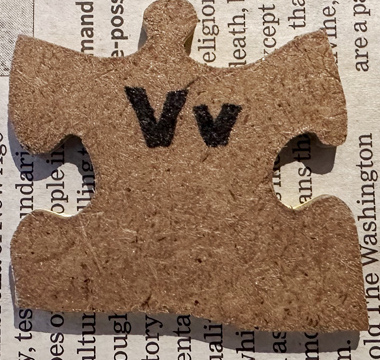
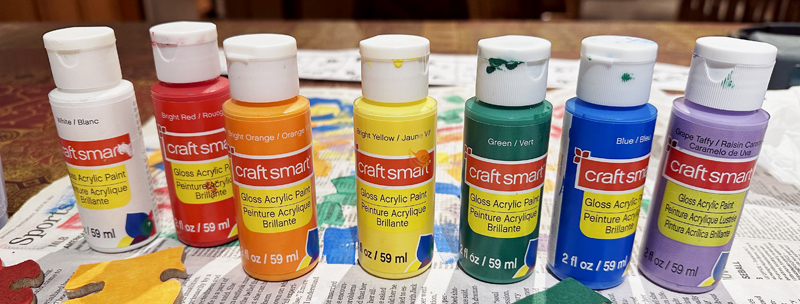
For alphabet / number puzzles, I just use standard acrylic paints from Michaels. I like the glossy version better.
For some puzzles, I put on a final coat of urathane. I started with Satin finish but now prefer glossy finish. I like Water-Based for clean-up and (possibly) less toxicity if the pieces are chewed on. I put three coats on the back of the alphabet/number puzzles and one coat over the painted side.